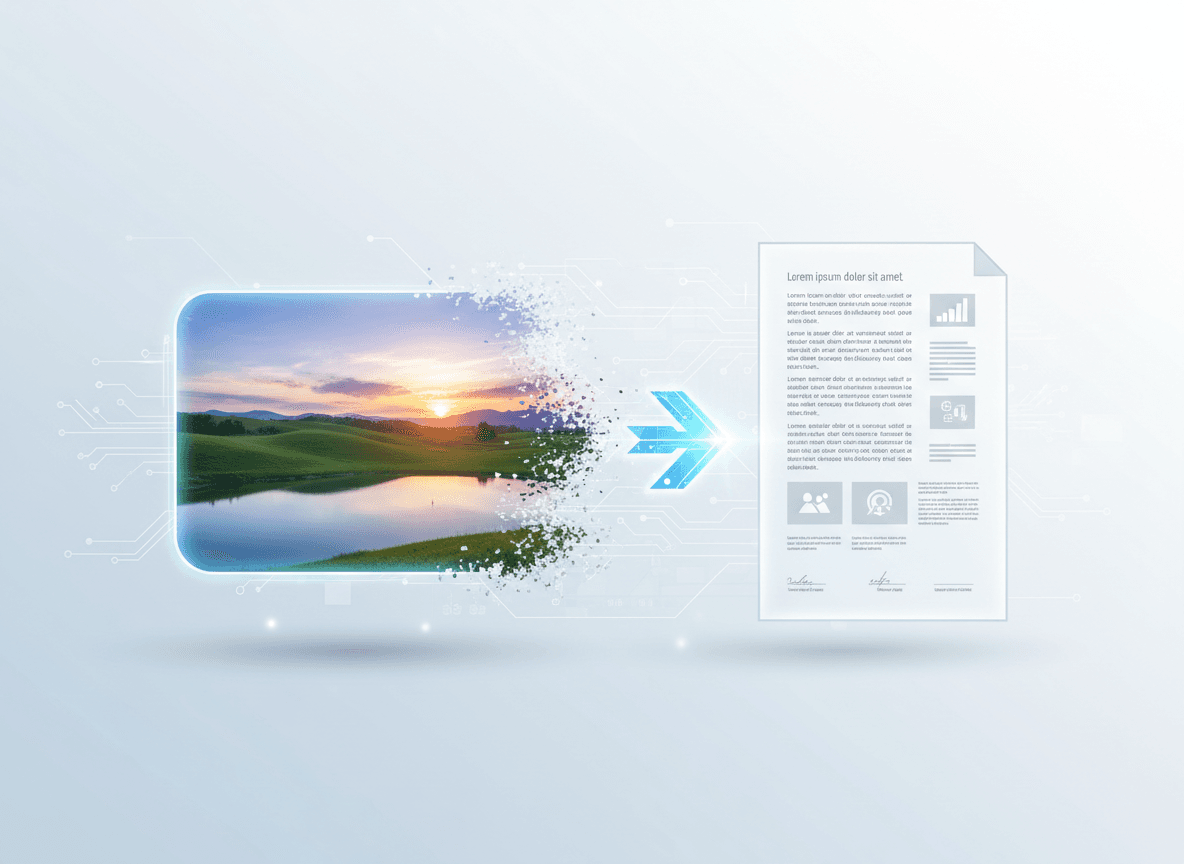
You've got beautiful, sharp photos. High resolution, perfect clarity. You convert them to PDF, open the PDF, and... they look blurry. What happened? Your perfect photos are now pixelated and soft.
This is frustrating, but it's usually preventable. Our JPG to PDF tool solves this automatically by preserving image quality and resolution during conversion. The problem is almost always compression or resolution settings during PDF creation. Let me explain what causes blurry photos in PDFs and how our tool keeps them sharp.
Why Photos Get Blurry in PDFs
Compression
The most common cause is compression. When creating a PDF, many tools compress images to reduce file size. Too much compression makes photos blurry.
What happens: The PDF tool reduces image quality to make the file smaller. This is fine for documents, but can hurt photo quality.
How to fix it: Use high-quality or lossless compression settings when creating the PDF.
Resolution Reduction
Some PDF tools reduce image resolution (DPI) when converting. This makes images smaller in file size but also reduces sharpness.
What happens: A 300 DPI image becomes 150 DPI, or a high-resolution photo gets downsampled.
How to fix it: Ensure your PDF tool preserves original image resolution.
Resizing
If photos are resized to fit pages, they might be scaled incorrectly, causing blurriness.
What happens: A large photo is scaled down, and the scaling algorithm isn't optimal, creating softness.
How to fix it: Use tools that handle image scaling properly, or resize images before converting.
Color Space Conversion
Converting between color spaces (like RGB to CMYK) can sometimes affect image quality.
What happens: Color space conversion can introduce artifacts or reduce quality.
How to fix it: Keep images in their original color space when possible.
How Our JPG to PDF Tool Keeps Photos Sharp
Automatic Quality Preservation
Our JPG to PDF tool automatically uses high-quality settings to preserve your photos.
What our tool does:
- Automatically preserves image quality
- Uses intelligent compression that maintains sharpness
- Preserves original resolution
- Handles different image sizes and formats
No configuration needed: Our tool handles quality settings automatically, so you don't need to worry about compression or resolution settings.
Preserves Original Resolution
Our JPG to PDF tool preserves your image resolution automatically.
What our tool does:
- Maintains original DPI/resolution
- Doesn't downsample images
- Preserves image sharpness
No settings to check: Our tool automatically preserves resolution, so your photos stay sharp.
Designed for Photo Quality
Our JPG to PDF tool is specifically designed to handle photos and preserve quality.
What makes our tool better:
- Optimized for photo conversion
- Intelligent quality preservation
- Handles high-resolution images properly
Quality is automatic: You don't need to configure settings—our tool preserves quality by default.
Works with High-Quality Source Images
Our tool works best with high-quality source images, preserving their quality in the PDF.
What to do:
- Use high-resolution source images
- Our tool will preserve their quality
- No need to pre-process images
Why it helps: Starting with high-quality images and using our tool ensures your PDF photos look sharp.
How Our Tool Handles Quality
Our JPG to PDF tool handles all quality settings automatically:
Compression: Our tool uses intelligent compression that preserves quality while managing file size
Resolution: Original DPI is preserved automatically—no downsampling
Color: Original color space is maintained (RGB for photos)
Scaling: Images are handled properly, maintaining aspect ratios and quality
Format: Our tool creates high-quality PDFs that preserve your photos perfectly
Testing Quality
After creating your PDF, test the quality:
Zoom in: Open the PDF and zoom in on photos. They should remain sharp.
Compare: Compare the PDF photos to the original images. They should look similar.
Print test: If printing, print a test page to verify quality.
Check file size: Very small PDFs from large photos usually mean heavy compression. Check quality.
Common Mistakes (That Our Tool Avoids)
Here are mistakes that cause blurry photos—our tool avoids them:
Using default settings: Our JPG to PDF tool uses high-quality settings by default—no need to change anything.
Prioritizing file size: Our tool balances size and quality intelligently, preserving quality while managing file size.
Multiple conversions: Our tool preserves quality in a single conversion—no quality loss.
Wrong tool: Our JPG to PDF tool is specifically designed for photos, not just documents.
Not checking results: Our tool preserves quality automatically, but always check your PDF to verify it looks good.
File Size vs Quality
There's a trade-off between file size and quality. Here's how to balance it:
For sharing: High quality is usually fine. Modern PDFs handle images well without huge file sizes.
For email: You might need to balance quality and size. Use high quality, but not maximum if file size is a concern.
For printing: Use maximum quality. File size matters less than print quality.
For web: High quality is usually sufficient. Very high quality might be overkill.
For archiving: Use maximum quality. You want to preserve photos long-term.
Keeping Photos Sharp
I've seen too many people create PDFs from beautiful high-resolution photos, only to end up with blurry results. The problem is almost always the same: default PDF settings prioritize file size over quality.
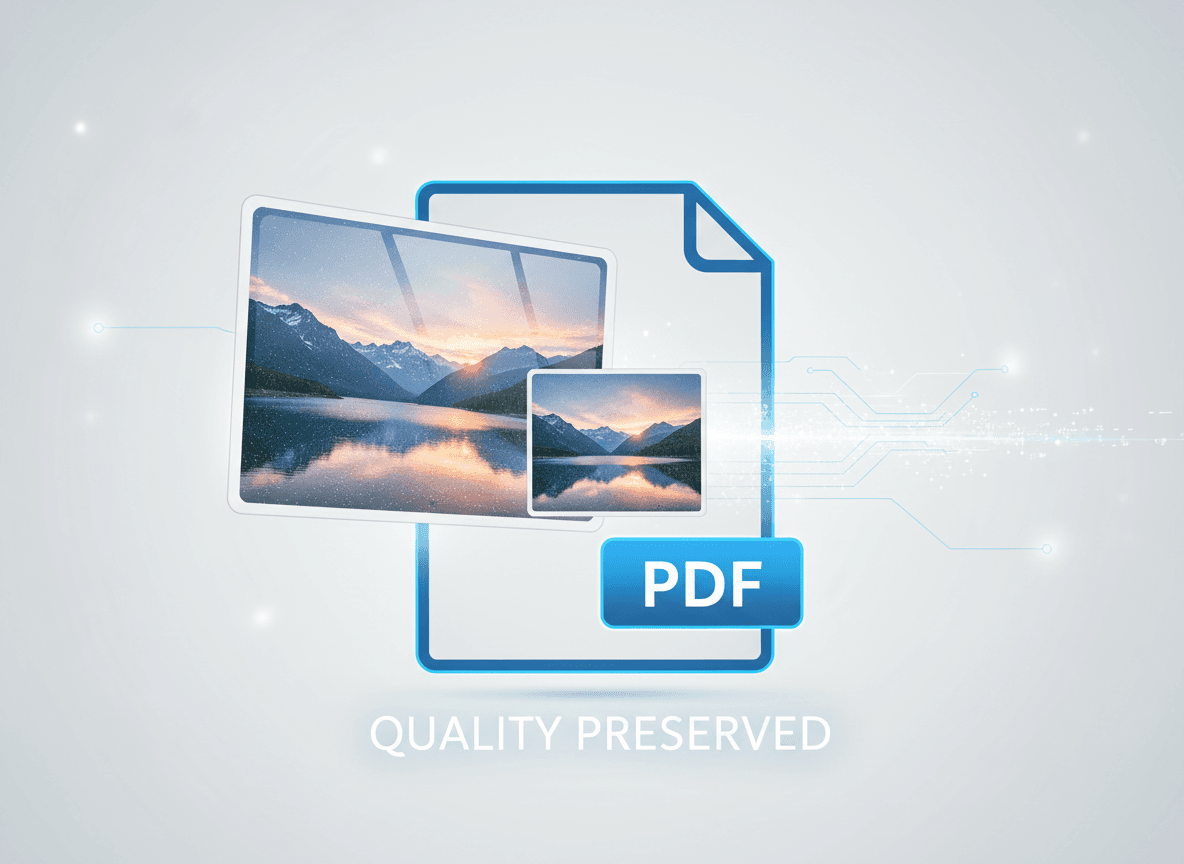
The solution? Use our JPG to PDF tool. Our tool automatically uses high-quality settings, preserves original resolution, and handles compression intelligently. You don't need to change any settings—our tool preserves photo quality by default.
With our JPG to PDF tool, your photos will stay sharp in PDFs. No need to worry about compression settings or resolution reduction. Our tool handles it all automatically, ensuring you get professional-looking documents that do your work justice.
Always check your PDF after creating it. Zoom in. Compare it to the original photos. With our tool, they should look sharp and clear. Ready to convert your photos? Try our JPG to PDF tool now and see how it preserves your photo quality perfectly.